Exporting and installing your pack
One click makes a pack. Here's how to install it, and how updates work.
Exporting
Click Export pack. You get an .mcaddon holding two packs:
- a behaviour pack with your advancements; and
- a resource pack with their icons (your uploaded images, and copies of any Minecraft textures you used) and your translations. BedrockAdvancements' menus, like an advancement's details, show icons from it.
If the button says something needs fixing first, click the status in the toolbar to see what.
Installing
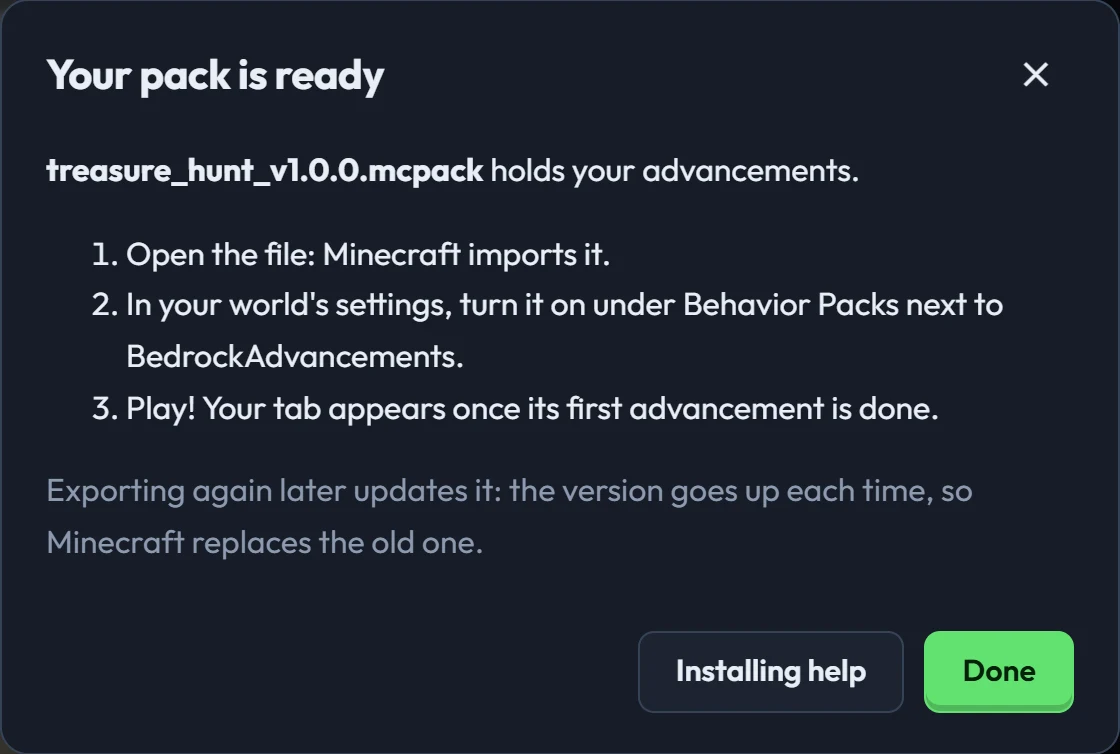
- Open the file. Minecraft imports it.
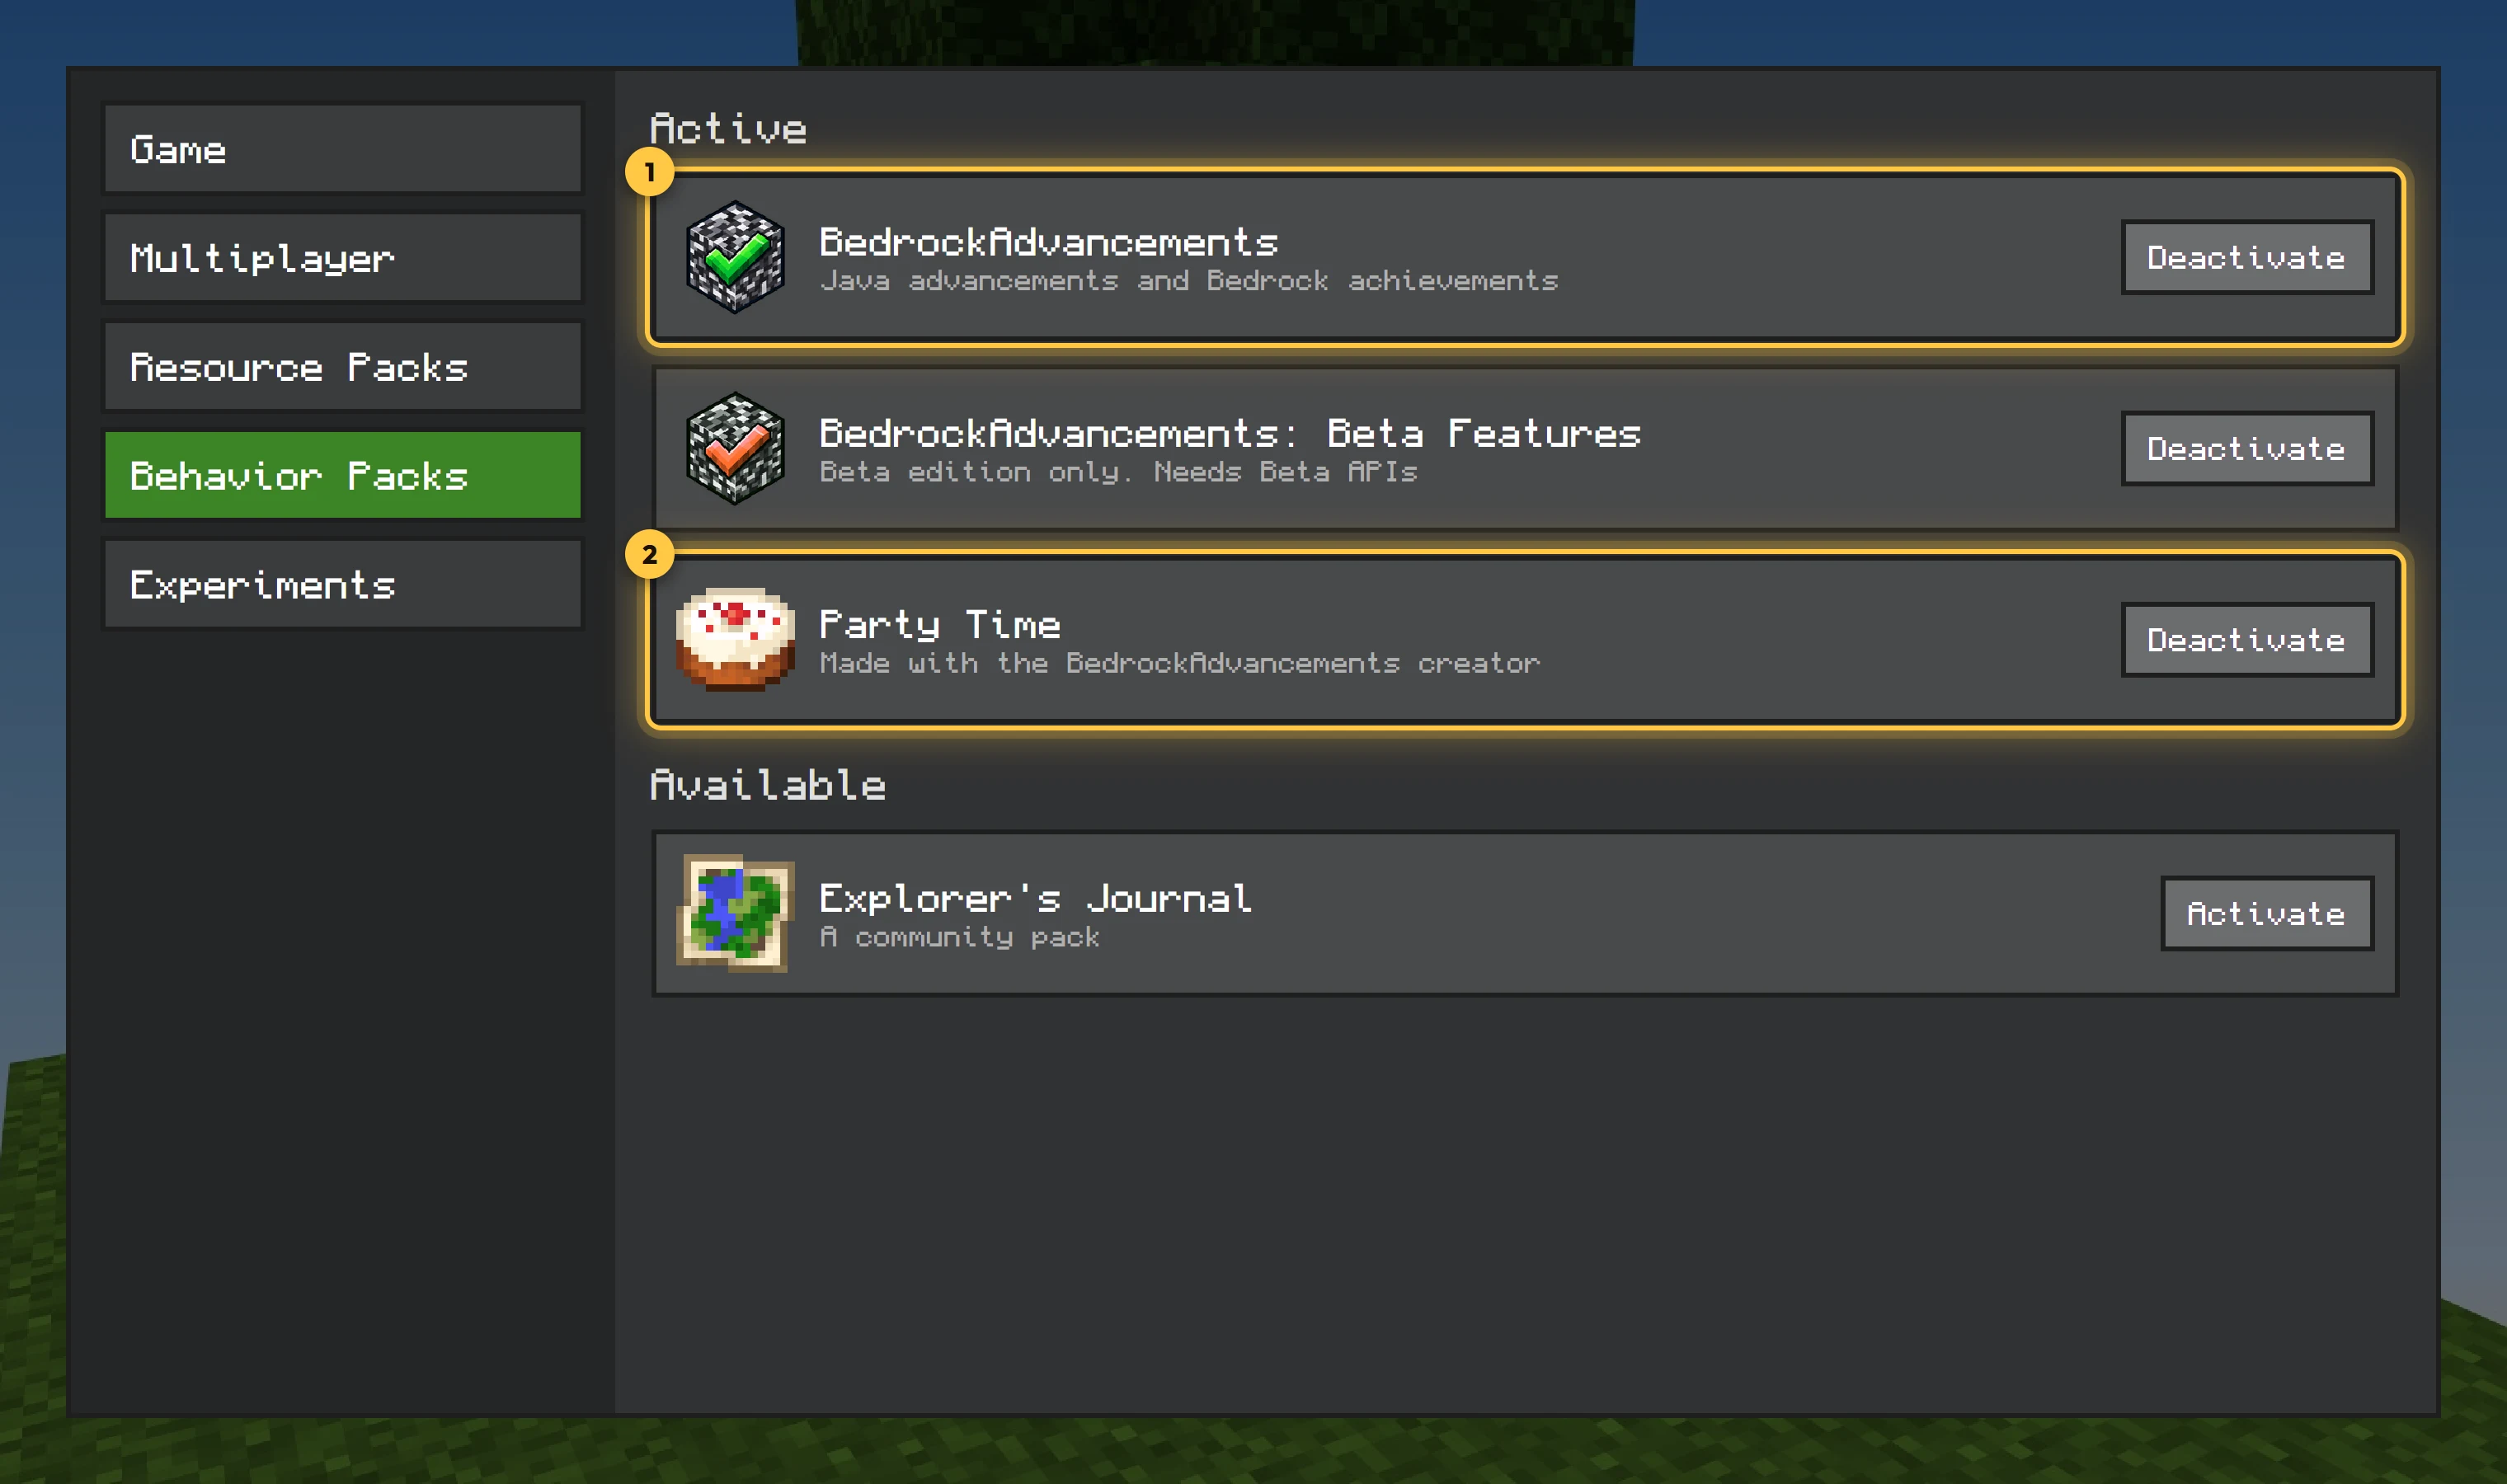
- In your world's settings, under Behavior Packs, activate your pack next to BedrockAdvancements (which must be installed too). The resource pack comes along.
- Play. Your tab appears once its first advancement is done.
On a Realm or server, install it the same way as BedrockAdvancements itself: see Installing.
Updating
Change your project and export again. Each export has a higher version (1.0.0, 1.0.1, 1.0.2…), because Minecraft only replaces an installed pack with a newer one. Import the new file and worlds using the pack get the update.
After your first export, ids are fixed: players' progress is saved under them. You can still rename advancements; the id stays. In Advanced mode you can change an id, but players lose their progress on that advancement.
Keeping your project
The creator keeps your project in this browser. Save the project file too (File → Save project file): it's the master copy, and you can open it on any computer. If you only have the exported pack, File → Open can read it back into a project.
Sharing a copy that installs alongside
Two packs with the same UUID replace each other in Minecraft. To make a separate pack from a copy of your project, use Make it a separate pack in the pack's Advanced settings: it gets new UUIDs and a new namespace.