Your first pack
Five minutes from nothing to your own advancements in game. No code, no files to edit.
1. Open the creator
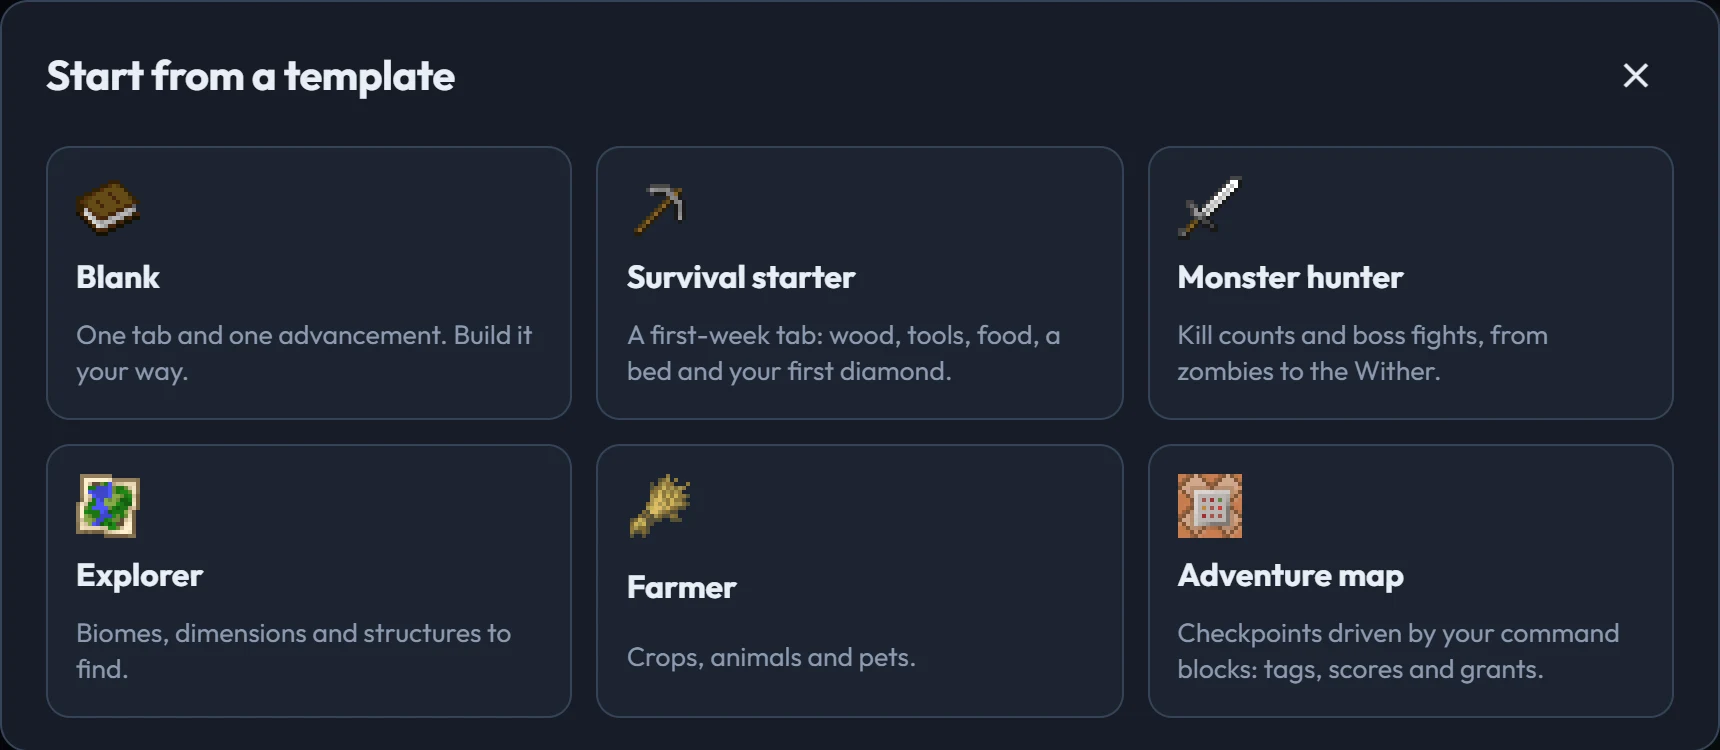
Go to the creator. The first time, it opens a Survival starter template so you have something to play with. For a clean slate, use File → New project, or File → Start from a template for other starting points.
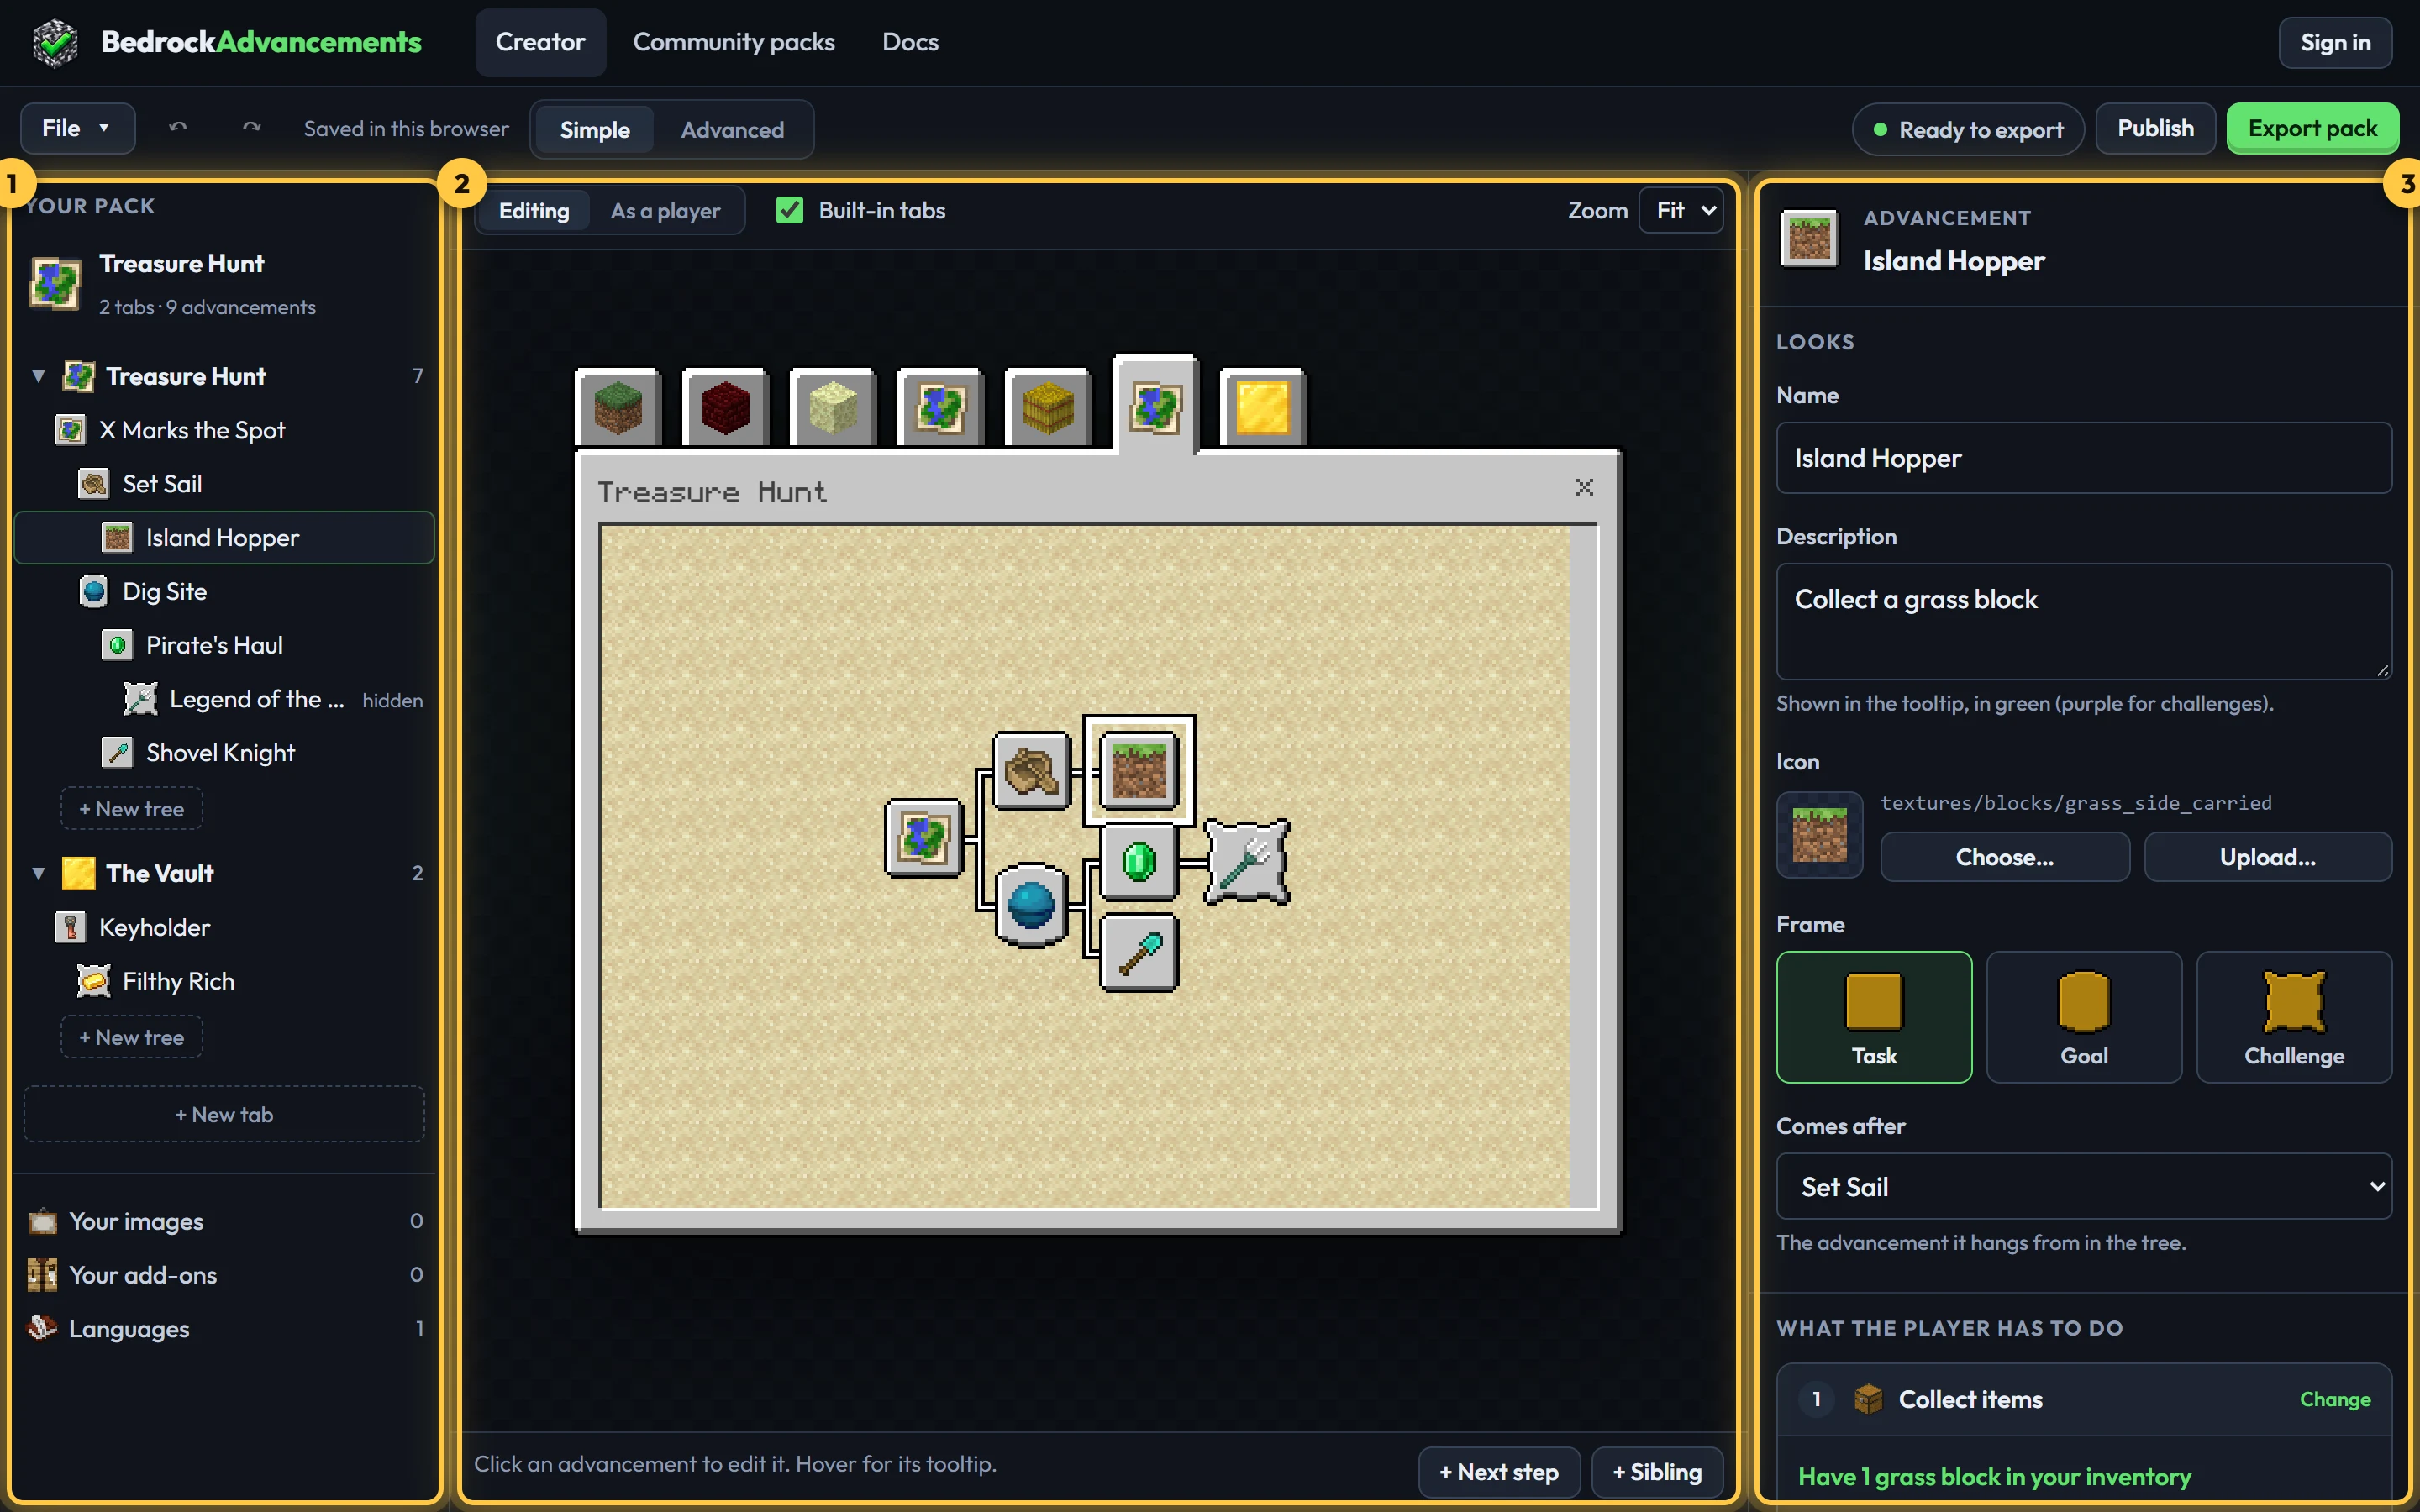
The screen has three parts, side by side:
- Your pack (left): your tabs and the advancements in each, as a tree.
- The preview (middle): the in-game screen, drawn exactly as Minecraft will show it.
- Settings (right): everything about whatever you've selected.
Click an advancement in the tree or in the preview to select it. Change anything on the right, and the preview updates as you type.
2. Name your pack
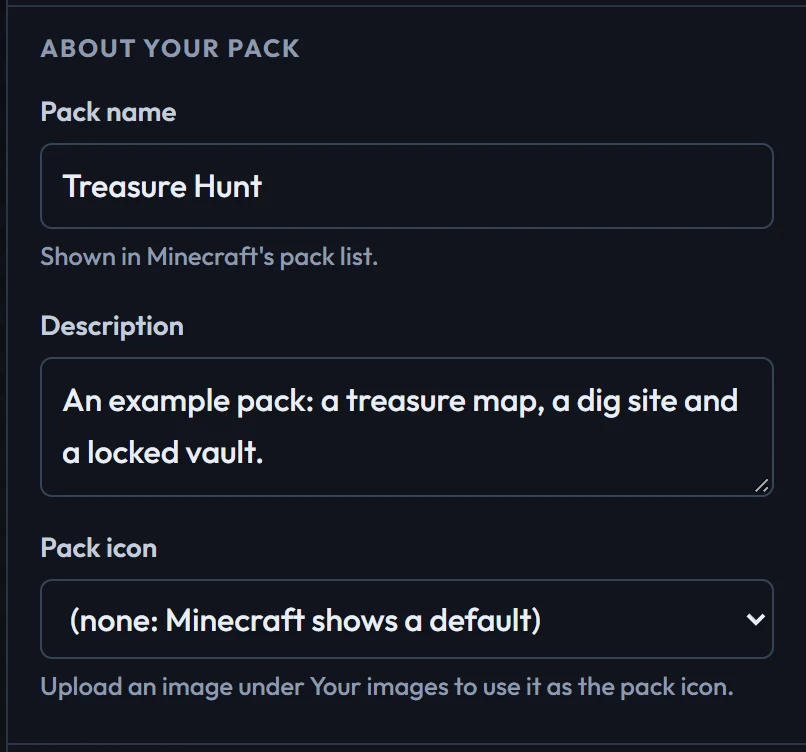
Click the pack at the top of the left column. Give it a name and a short description: that's what players see in Minecraft's pack list.
3. Make an advancement
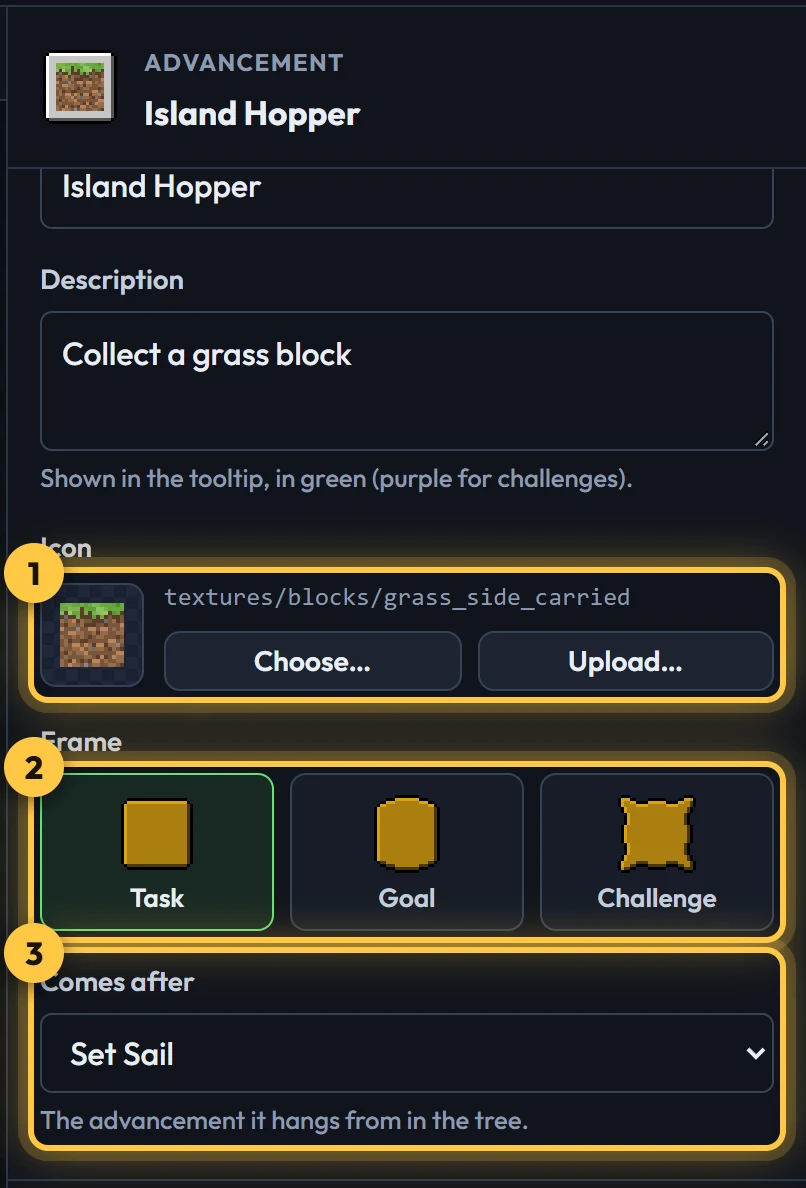
Select the first advancement and set:
- Name and Description: the tooltip's title and its green text.
- Icon: click Choose… and search ("diamond", "sword") or upload your own picture.
- Frame: task (most things), goal (a long-term aim) or challenge (something hard, with a fanfare).
4. Say what the player has to do
Under What the player has to do, click the goal's Change to pick from 34 kinds: collect items, craft, kill mobs, visit a biome, tame an animal, enter the Nether, and more. Then fill in its details. The green sentence above them says what you've made in plain English, like "Kill zombie (25 times)".
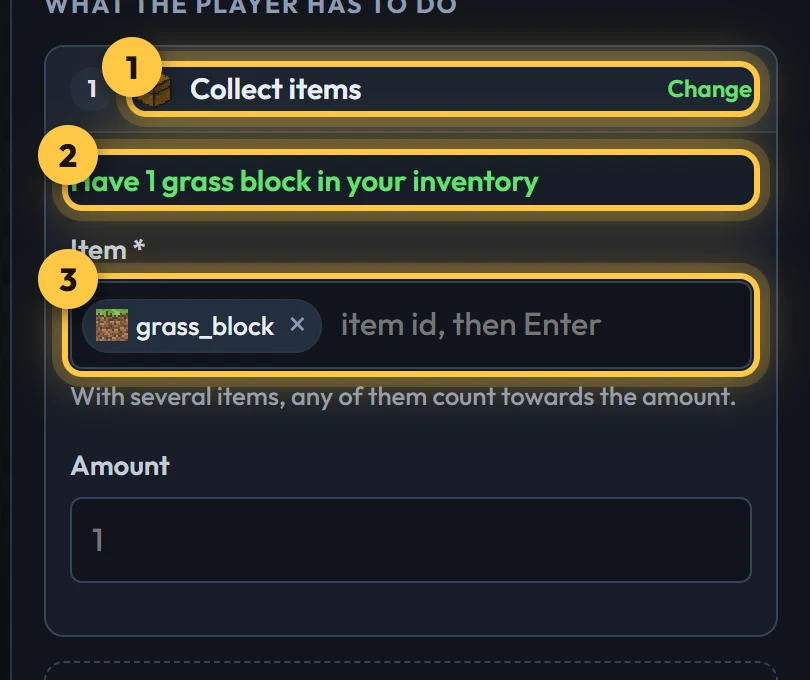
Need more than one thing? + Another goal, then choose whether the player needs all of them or any one.
5. Build the tree
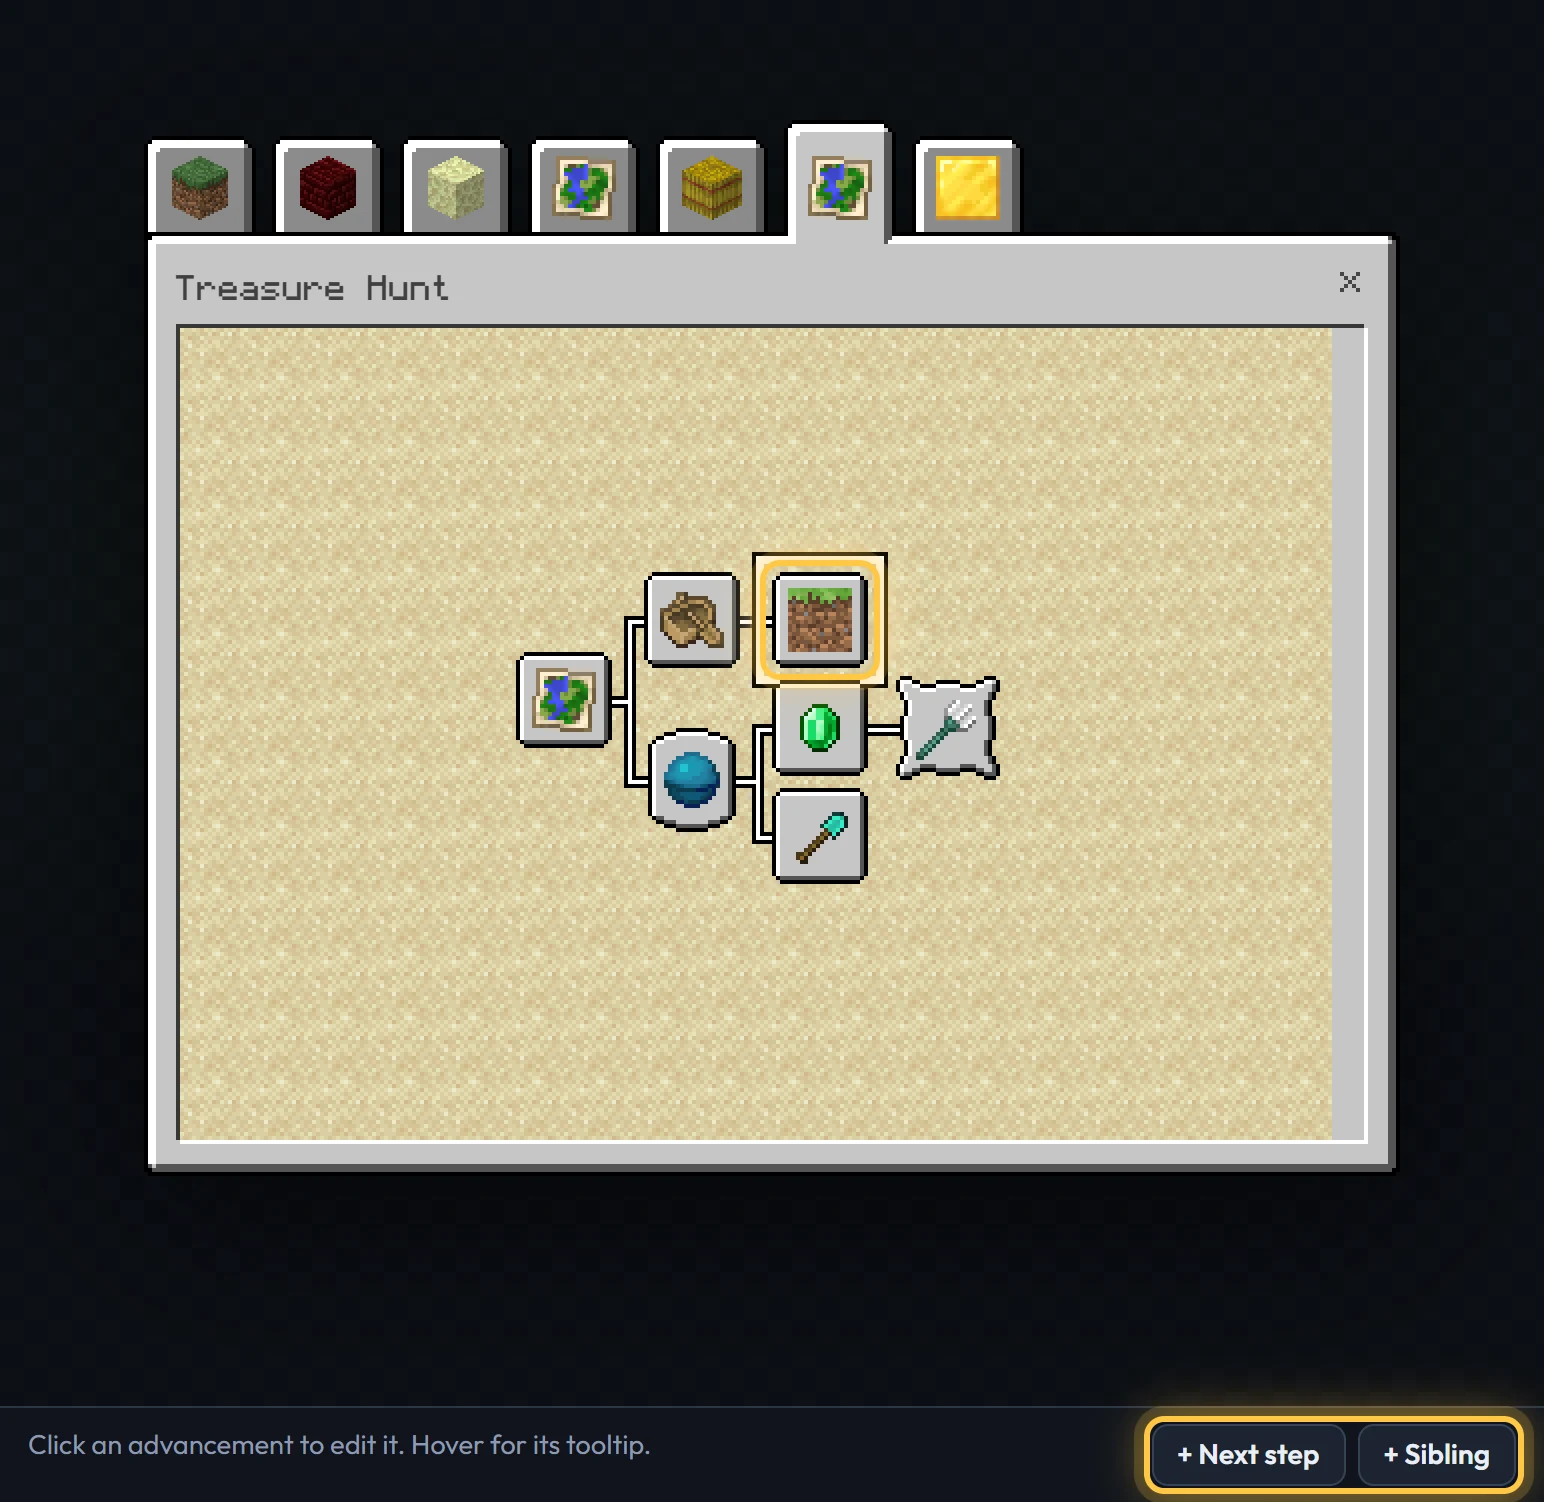
With an advancement selected, + Next step adds one that comes after it (connected by a line), and + Sibling adds one next to it. You can also drag advancements in the left column: drop one onto another to put it after that one, or onto the top edge of another to place it before.
A tree can go up to 9 steps across, which is the width of the screen: it doesn't scroll sideways. At the 9th step + Next step turns off, so add a sibling to an earlier step instead. A tree can have as many siblings as you like.
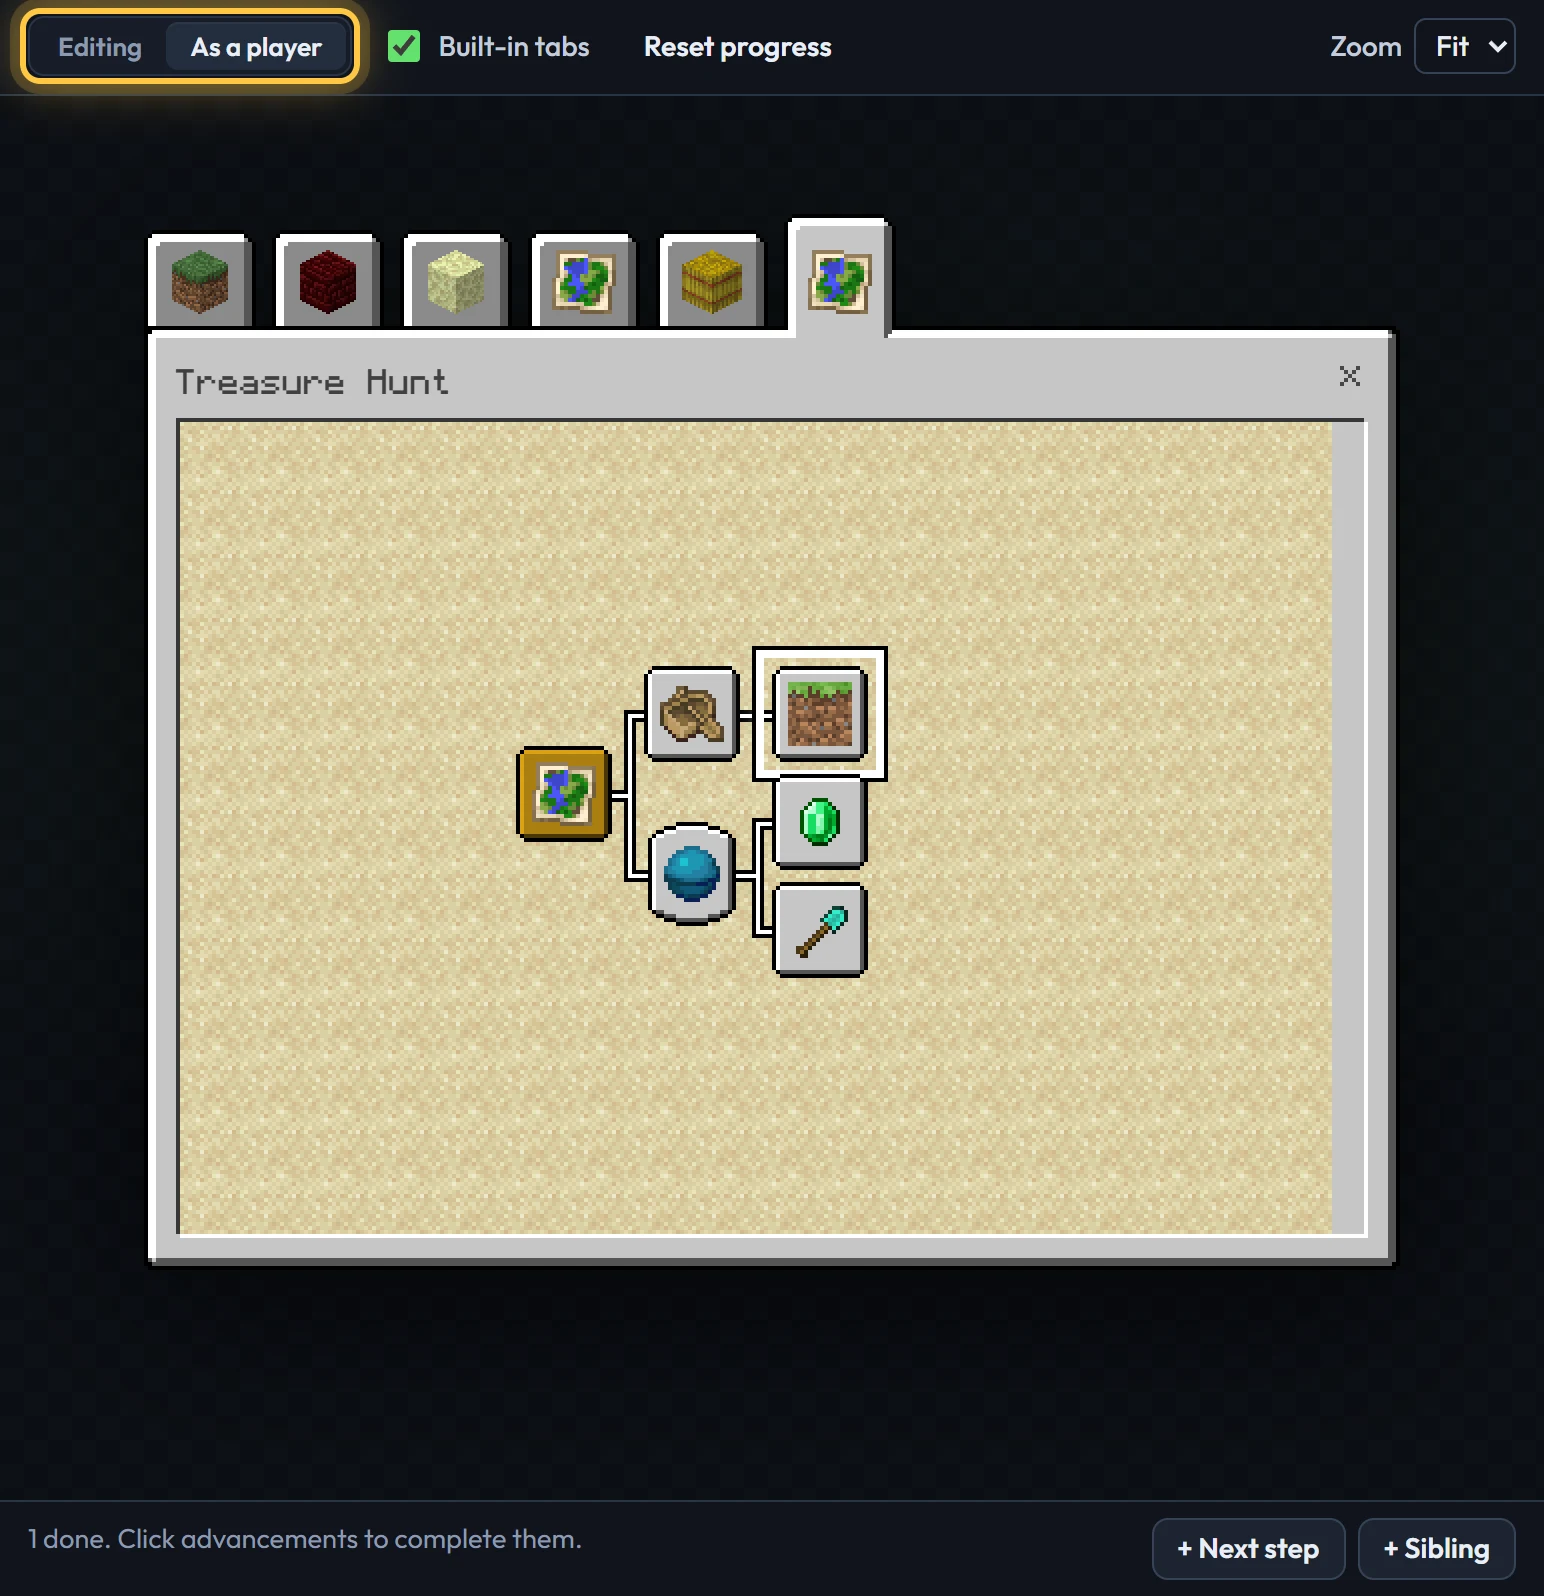
Switch the preview to As a player and click advancements to complete them: you'll see the tree reveal itself exactly as it will in game.
6. Export and play
When the status at the top says Ready to export, click Export pack. Open the file, turn it on in your world next to BedrockAdvancements, and play. See Exporting and installing.
Your project saves itself in this browser as you work. To keep a copy, or to work on another computer, use File → Save project file.